Tuesday, August 9, 2011

Mini Book Kit 12

Page 1
  • Cut Forage paper from top right hand corner 11cm x 15.5cm and attach to front page of Acrylic Album, make sure you put your tape right to the edge of the paper.  Punch out holes with a hole punch.
  •  Stick down one of the tags on an angle (Outdoor Adventure) from your packet of tags. I have inked the edge of the tag in brown.
  • From your sticker sheet place 5 bunting triangles on a curve at the top of the page.  I have also place a moth and black beetle from the sticker sheet (see photo).
  • From your chipboard packet place the camping arrow to the bottom of the page.


Page 2
  • Cut your Trek paper 11cm x 15.5cm tape and place directly on page 2 it should line up exactly with page 1.
  • From your document sheet (perforated sheet) pop out camping safey ink around the edges and place on an angle.
  • From your sticker sheet I used the orange border diamonds 4.5 of them and place them along the bottom of page 2.  Place the square chipboard tent as per photo. Don't forget to punch holes
Page 3
  • Here you will make your own insert page from your green and blue cardstock.  Cut one 11cm x 15.5cm and adhere them back to back ink around edges on both sides.  Line up your holes and punch them .
  • Cut out from Search paper 10cm by 8cm rectangle, ink edges.  This can be your mat for a small landscape photo.
  • Stamps not included in kit.  If you have stamps I have watermarked the compass and rope.  See photo.  Place a fish sticker to decorate.
Page 4
  • From your Forage paper (stripe side) cut a 1"strip and place down the side of page 4 onto the blue side. See photo.
  • Attach private property sign from your chipboard shapes.
  • Cut a 10cm by 8cm rectangle from your Watch Paper (right hand side of paper) ink and attach to page. 
  • From your sticker sheet add the blue tab and blow fly (see photo) don't forget to punch holes
Page 5
  • Back using your Acetate Album adhere the blue border strip lining up evenly on both sides of the album.
  • From your Listen Paper (orange) cut out a 11.5 x 12cm square tape and stick to album, punch out holes. (rub ons are not included in this kit)


Page 6
  • You should have the blue border at the top of the page from your sticker sheet.
  • Using your Find Paper bottom left hand corner cut out a 11.5 x 12cm square leaving the blue fish border in place. Ink the edges in brown and attach.  Both sides of acrylic should match up.  Punch out holes.  Place a bird sticker from your sticker sheet (see photo).
Page 7
  • Using your Photo Friendly Paper (embossed bugs) cut a 23cm x 15cm piece.  I have folded this in half, taped the edges and used this as an insert page,  Punch holes and ink edges.


From your perforated tags I have stuck back to back the boy with lassie and a Melolontha fullo Bug.  Punch holes and attach as an insert.


Page 8
  • Here we are making another insert page cut a 11cm x 15.5cm from your Find Paper leaving the tent in the corner, ink the edges (see photo)
  • Ink a plain tag and attach to page as shown.  I have used the fish stamp (not included)

Page 9
  • From your blue cardstock cut a 11cm x 15.5cm and attach to the back of the Find Paper
  • Now cut a 11cm x 8cm strip of Forage Paper and adhere to the bottom (see photo) 
  • Using the Trek Paper cut out a 10cm x 7cm rectangle and ink and attach to page on an angle.
  • Attach leaf vine from sticker sheet and also a Chipboard sign Lookout Point. (bug rubons are not included)
Page 10
  • Using Acetate Album Page 3 attach border flourish to both sides of album (see photo)
  • From your Watch Paper cut a 11.5cm across x 10cm height from the brids in the corner and attach to album, punch holes
  • Add a journal tag from your sticker sheet.
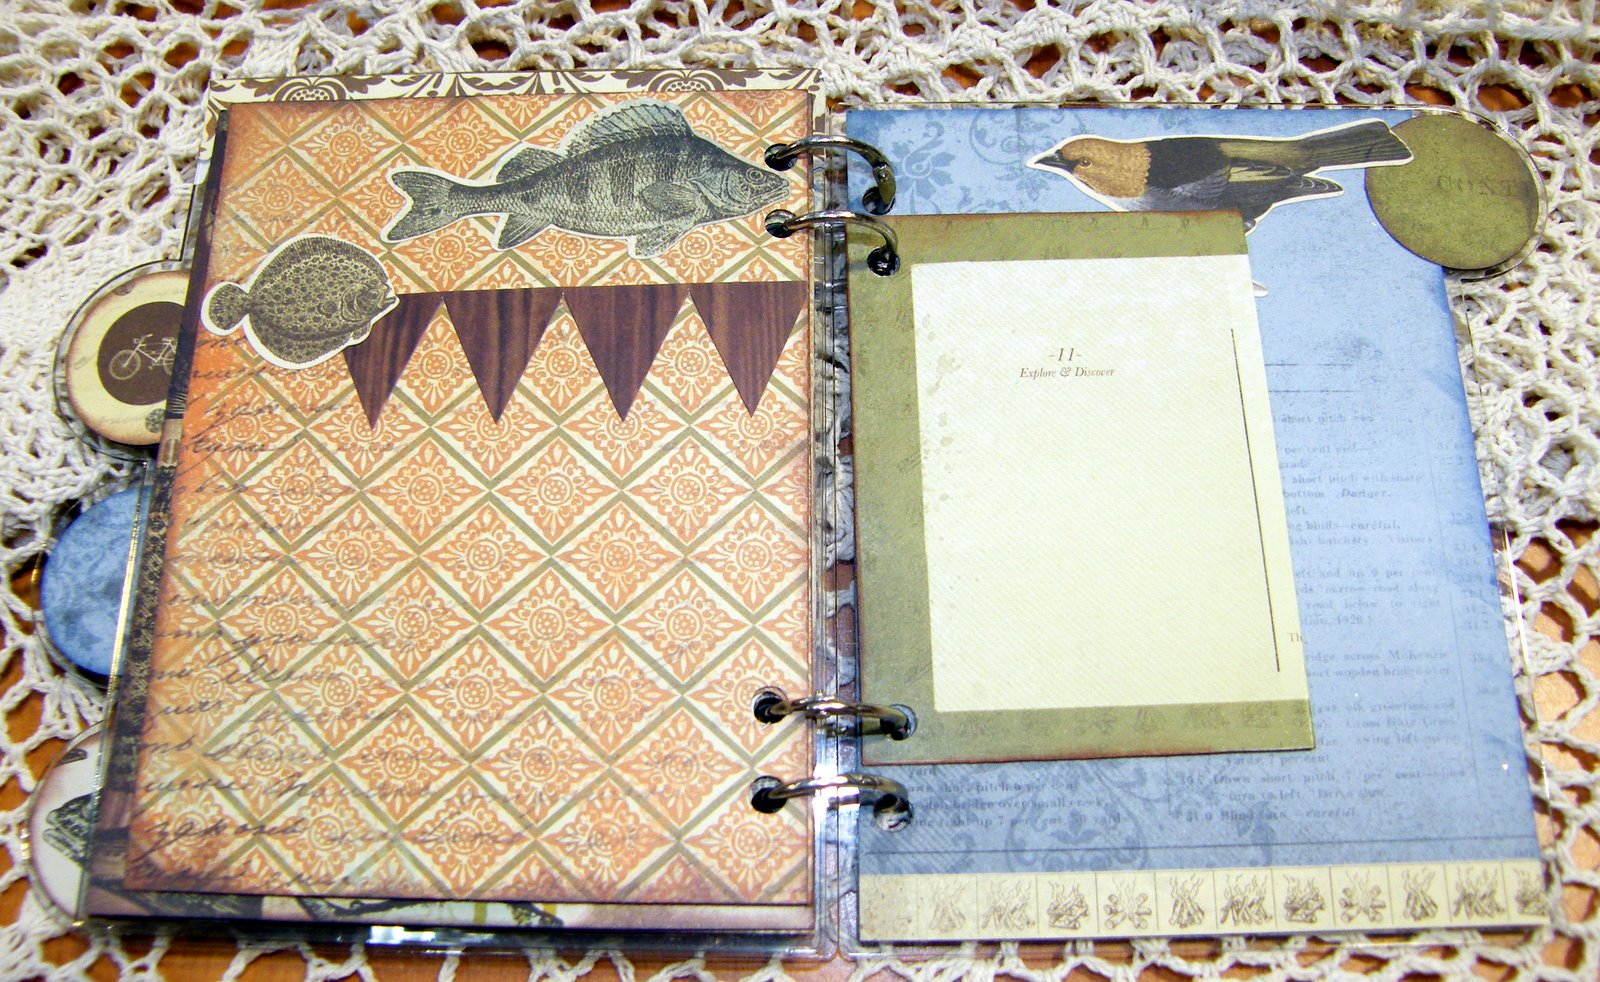

Page 11
  • Do exactly the same as per page 10 but using Forage Paper.
Page 12
  • From your Fossick Paper (fish) we are creating another insert page as per the same steps as Page 7.

  • From your perforated sheet stick back to back to flower plants of your choice.

  • From your Search Paper (journal blocks) cut out the one with the birds and butterfly with the orange border, fold in half and tape, punch holes, ink and attach in album.


  • Page 13
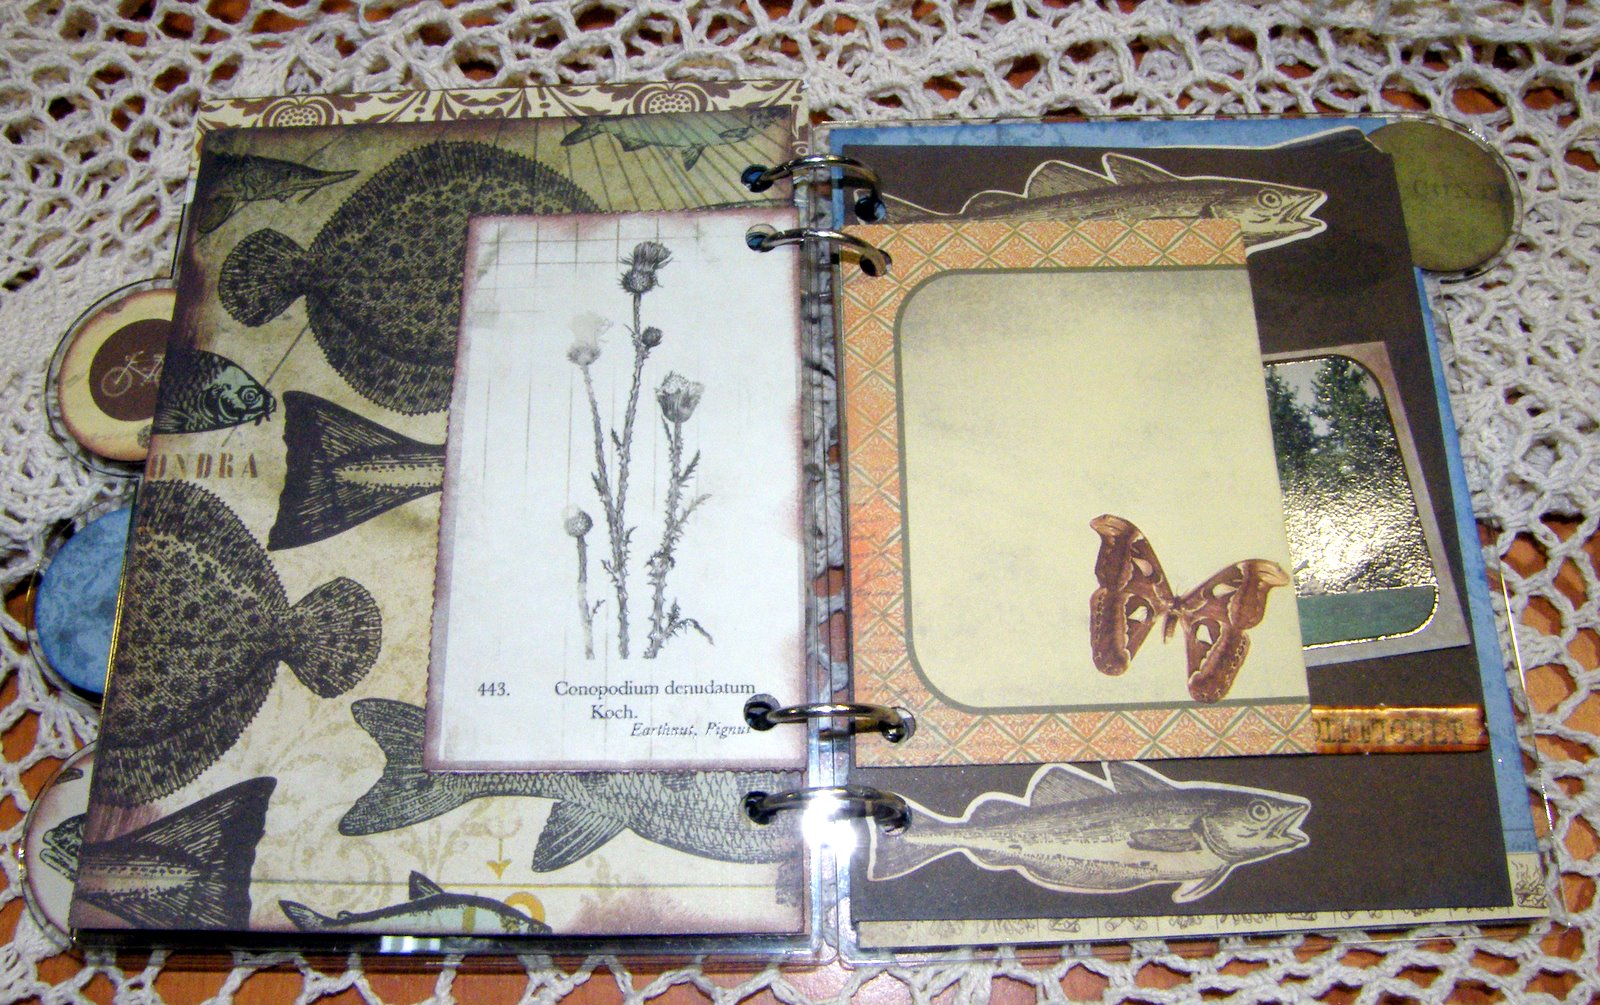
    • Create another insert page from your Listen paper one side brown the other side orange same dimensions as Page 7.
    • On this side place two fish stickers (as per photo), a perforated tag of the wilderness and a chipboard word The Shack and difficult.  Ink the edges and don't forget to punch holes.

    • This is the backside of the brown insert page, place a couple of fish stickers, a banner and don't forget to ink the edges. (see photo)
    • From your journal cards fold in half the green one that looks like a postcard, stick together, punch holes and attach in album
    • I have attached the blue circle sticker to the insert page.
    Page 14
    • From your Fossick Ppaer (light blue) cut out a 11cm x 15.5 cm and adhere to last page of acrylic album leaving border strip along the bottom.  Punch holes.  Attach a bird sticker.


    Page 15
    • Using Forage paper cut off bottom border strip and cut out the same as per previous page and attach with green side up, ink and punch holes.
    • Cut out journal tag and attach (see photo)
    • LAST but not least i have used a 1 3/8" circle punch.  I have randomly punched out circles from patterned paper and stuck them to the Acrylic Album tabs back and front.  Place any left over stickers on them to decorate.
    • Your album is now ready to add photos and journalling and other embellishments as you please.
    • HAPPY SCRAPPING.

    • Posted by Picasa

    Monday, August 8, 2011

    Kit 11 Pretty Layout

     
    Step by Step
    • Cut a 2.5" x 9" rectangle from your Miss Nelly Her Smile Paper and attach to your white Bazzill 2.5" from the top and 5.5'' from the left hand side.
    • Fold your small paper doily in half and then half again and set aside.
    • Remove your large flower sticker from the sticker sheet and place slightly over your patterned paper be careful not to fully stick down as you have to place your folded doily slightly under the sticker sheet as per photo. Layer up your three butterflies gluing one on top of the other and attach feelers, glue to the paper doily
    • Next step is to place your large doily on and stick it down (See photo for where to place it) I have put tape in the middle of the doily only so I can still place the header label underneath.
    • Place your photo on an angle (you can choose 1 x landscape photo or 2 smaller ones like mine) and stick down.
    • From your sticker sheet use the red border, cut it to size and place directly under the photo. For the top border I have used a punch from Martha Stewart and punched from the remaining left over Her Smile Paper. If you don't have a punch you can use one of the border stickers from the sheet cut to size.
    • Next step - place the label just slightly under the doily as per photo and put your own title on using the alphabet from your sticker sheet.
    • Place bling as desired (this may vary from the original layout)  .For the bike I have cut out the middle section to make it look more like a girls bike (see photo - I have used Glitter Glass - not included in kit to bling up the bike) other suggestions for your bike are -: cover it in silver glitter or paint the bike silver to give the same effect, you can also use silver kindy glitz. Glue bike down and add your flowers to the wheels.
    • For the top right hand corner design it as you like as I have used bits from the 6 x 6 paper pad (not included) (you could use some left over stickers and borders from your sheet or cut out a tag from your left over paper. 

     Please note: resin flowers & bling may vary slightly from the original layout


     Close up of Butterfly


     Close up of Bike

    Thanks and Happy Scrapping.

    Thursday, August 4, 2011

    Missy Layout Kit 10

    Hi! Thankyou for purchasing one of our kits. Following are the step-by-step instructions you will need to complete this layout. Enjoy!

    Please note: Some of the papers in your kit may differ from the ones shown.

    1. Cut a 9 inch square out of the large floral paper, distress around the edges and adhere on a slight angle in the middle of  the blue background paper. Optional: You can sew around the edges with a sewing machine or handstitch.
    2. Distress around the edges of the back ground paper.
    3. Cut a 12 x4 inch piece of the small pink floral paper and on the right hand side use a border punch, distress around the edges, then adhere it into place on top of the 9 inch square towards the bottom, (see photo) and sew around the edges.
    4. Using the border punch cut out two strips of the spotty paper, about 11 inches long, you need the strips to over lap, so make one wider than the other, distress around the edges, then mount one on top of the other using mounting tape, then adhere using tape on top of the 12x4 paper. (see photos).
    5. Wrap a piece of lace trim around the layout and tie with a bow.
    6. Mount your photo onto paper, distress around the edges, add pearl stripes around photo and adhere to the layout on the left hand side, move bow so it sits on the right hand side of the photo, ( I used tape and mounting tape so it was raised up a little).
    7. Cut the doily in half and sew/glue it to the left hand side of your photo.
    8. Colour in your teapot set and the top of the rose using markers, then go around the edges with white paint or gesso and finish using dimensional magic on the dots and the rose top, leave to dry.
    9. Cover the bottom of the rose with paper, cut and file or sand around the edges, adhere rose top on top when dry and adhere on the left hand side of photo using mounting tape.
    10. Adhere the teapot set using mounting tape on the right hand side of photo and add the resin flower, (see photos).
    11. Rip part of the back ground paper at the right hand top and add part of the doily to the back, then adhere a piece of paper to the back of the doily.
    12. Making the flags fold a piece of paper and cut it into a flag shape, distress edges, (you can use your finger nails for this) sew/glue down the folded edge leaving room for the pin, place pin inside flag and stick into the mounting tape behind the rose.
    13. Add title and journaling if desired.


    Thanks and have fun scrapping!