Hi, for your next Fred kit we have Showers Layout which you can use for any garden layout
![]() .
.
![]()
1. Cut a 9"x9" square window from Sweet Jam Paper (See photo below)
2. On right hand side of Simple Pleasures Paper fussy cut leaves and flower as per photo shown and the same for the bottom red flower, so the scalloped die cut paper will sit underneath the flowers.
3. Distress edge of scalloped paper and then adhere to Simple Pleasures Paper.
4. Distress around edges of Simple Pleasure Paper and adhere to Sweet Jam Paper (this is the paper that the 9x9 was cut out from) Burgundy side up as per photo.
5. Fussy cut the Good Living Paper from the top cloud above the sign post to the orange watering can at the bottom of the page and fussy cut front part of the gum boot so you can lift it up with some foam tape,
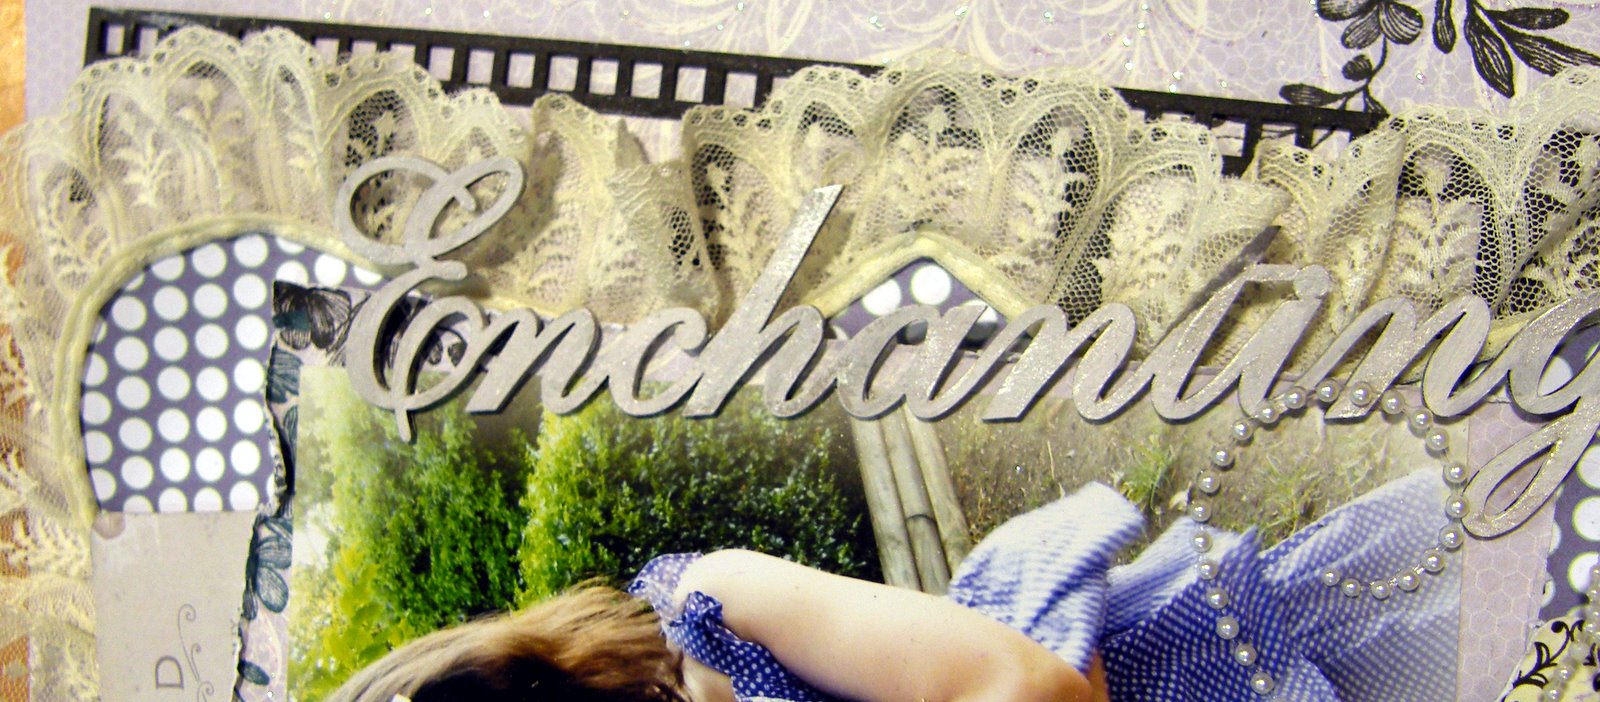
6. With the remainder of the Good Living Paper you can mount your photograph leaving a 1 to 2cm border around the photo, then double mount the photo with the dotted paper you can use a border punch on the edge if desired.
7. Add some blue mesh ribbon to the mounted photo for a ruffled affect.
8. Adhere the mounted photo into place with the fussy cut out of the sign post and watering can on top of the photo using foam tape to mount it up.
9. Make up the flower out of the left over pieces of paper, watch video below.
10. Add some blue mesh to the flower as below, make up the covered button, (see photos below) and adhere on top of the flower and atach the flower on top of the layout.
11. Adhere the bling onto the gum boot and add a journal tag to side of the mounted photo,
12. Add a title as desired.
13. Ink edges and add Kindy Glitz as desired.
![]()
![]()
![]()
![]()
![]()
![]()
![]()
Remember you can add other embellishment to this layout like I added a square around the flower above.
Hope you have lots of fun making this layout, please sent in a photo of your layout to fredtheneedle to go into a draw to win prizes.

You need:
- Thread and a needle ( for button ),
- Edge Distresser,
- Border Punch,
- Alphas for title,
- Kindy Glitz,
- Foam Tape or Dots.

2. On right hand side of Simple Pleasures Paper fussy cut leaves and flower as per photo shown and the same for the bottom red flower, so the scalloped die cut paper will sit underneath the flowers.
3. Distress edge of scalloped paper and then adhere to Simple Pleasures Paper.
4. Distress around edges of Simple Pleasure Paper and adhere to Sweet Jam Paper (this is the paper that the 9x9 was cut out from) Burgundy side up as per photo.
5. Fussy cut the Good Living Paper from the top cloud above the sign post to the orange watering can at the bottom of the page and fussy cut front part of the gum boot so you can lift it up with some foam tape,
6. With the remainder of the Good Living Paper you can mount your photograph leaving a 1 to 2cm border around the photo, then double mount the photo with the dotted paper you can use a border punch on the edge if desired.
7. Add some blue mesh ribbon to the mounted photo for a ruffled affect.
8. Adhere the mounted photo into place with the fussy cut out of the sign post and watering can on top of the photo using foam tape to mount it up.
9. Make up the flower out of the left over pieces of paper, watch video below.
10. Add some blue mesh to the flower as below, make up the covered button, (see photos below) and adhere on top of the flower and atach the flower on top of the layout.
11. Adhere the bling onto the gum boot and add a journal tag to side of the mounted photo,
12. Add a title as desired.
13. Ink edges and add Kindy Glitz as desired.


Remember you can add other embellishment to this layout like I added a square around the flower above.
Hope you have lots of fun making this layout, please sent in a photo of your layout to fredtheneedle to go into a draw to win prizes.