Hi, There is alot of steps in this layout, but if you read through and look at the photos, you should find it easy, remember you can change things if you like.


- 5x7 photo, Double sided tape, Mounting foam tape, Black ink pad, White ink pad or paint, Kindy Glitz, Hot glue gun or strong glue and Staper.
1. Cut out (fussy cut) out the feather fashion paper from the chandelier to the peacock feather.
2. Mount your photo onto Paper Shine a light Paper Mauve side leaving 4 cms around the edge, stick photo down onto an angle.
3. Cut out Grey Dot paper (Artisan shape is drawn on back for you)
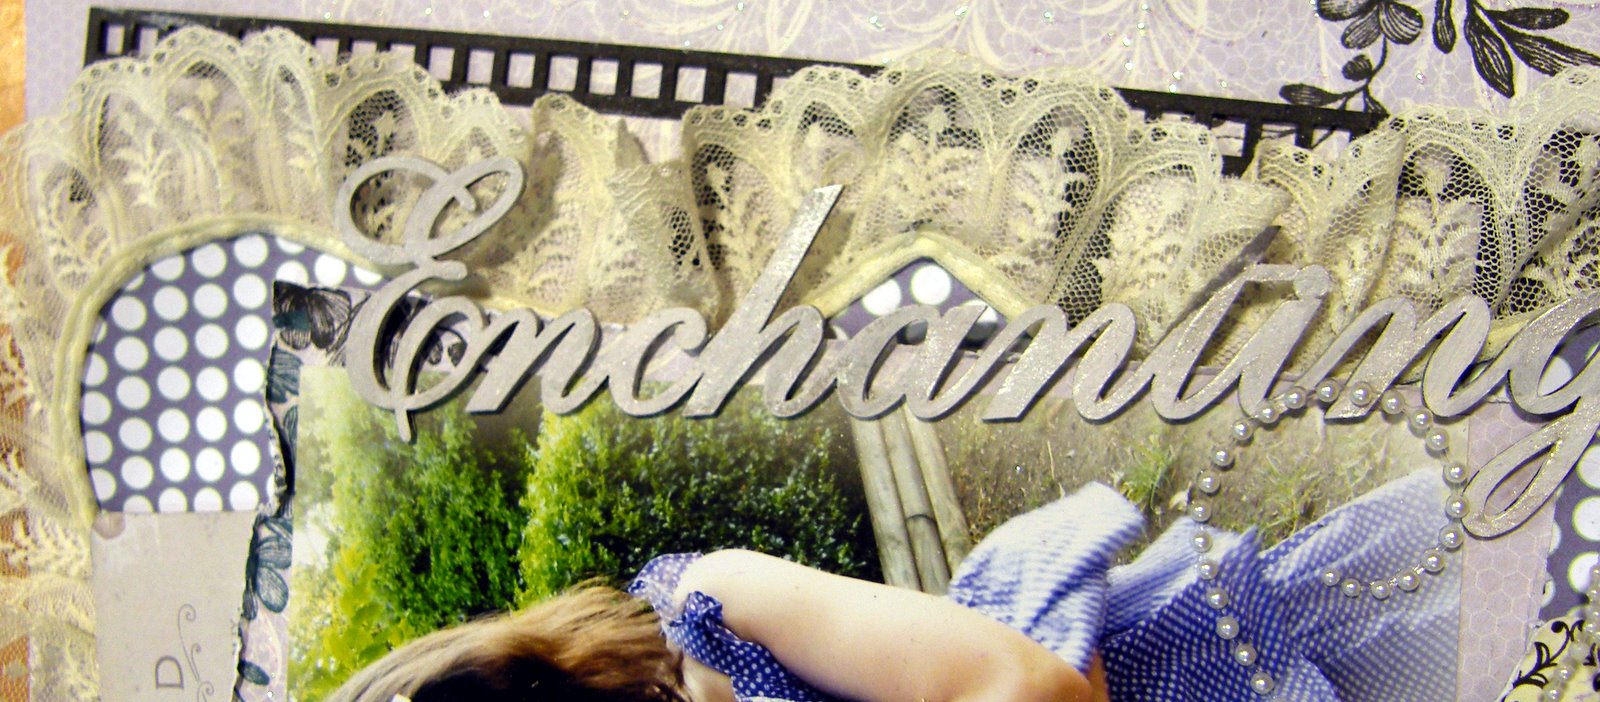
4. Attach gathered lace by either sewing machine, glue or double sided tape to the cut out artisan shape grey side up.
5. Double layer border fan strips and attach to back side of photo (see photo below)
6. Black tulle cut into 3 same size pieces (scrunch and staple) and attach to under side of border fan.
7. Cut out postcard and put aside for now.
8. Ink gates and photo strip with black ink and let dry.
Step 2:
1. Start assembling your layout.
2. Fussy cut piece mount with foam tape to Shine a Light Paper.
3. Attach Artisan dot shape to background paper.
4. Place mounted photo onto layout and position Postcard and Doily into position and stick them all down.
5. Attach negative strip to right hand side on an angle.
6. Attach gate and fence as per layout.
7. Arrange flowers and clear beading as per your personal preference
8. Music Ribbon, place double sided tape on the back and gather down the side of the photo.
9. Place pearl flourish onto layout as desired.
10. Paint or ink the enchanting title and adhere into place on the side of the photo.
11. Use your kindy glitz to bling up the layout following, I like to trace around the flowers and white parts, but remember if you use kindy glitz on black it looks abit green.

Happy Scrapping from Fred :-))
No comments:
Post a Comment